
Bondage for socks – cool dyeing technique for socks
White socks? Nah. Way too boring for me. My socks are colourful, and I’ll show you two ways to dye your own and let your ideas run wild.
If you hear the word batik and immediately think of drapes hung across a stinking stoner’s room or sweaty robes worn by psytrance ravers, you’re wrong. Technically speaking, they aren’t dyed with batik (the Indonesian textile dyeing process using wax), but by tie-dyeing, a related method in which fabric is tied off. And tie-dyeing is right at the centre of this article.
Omg, these socks!
About three years ago, I had a wonderful and overambitious idea. I could buy a 16-pack of white socks, tie-dye them, embroider personal messages on them and give them to my friends for their birthdays. I soon realised the fabric isn’t suitable for embroidery. Still, colouring worked all the better. The dyed socks stayed with me, keeping my feet warm ever since. I wear them so often that they’re now faded. Without a fixative, colour will disappear after a few washes. Now I want to give my socks a stylish revival, trying out two simple tie-dye methods.

Source: Stefanie Lechthaler
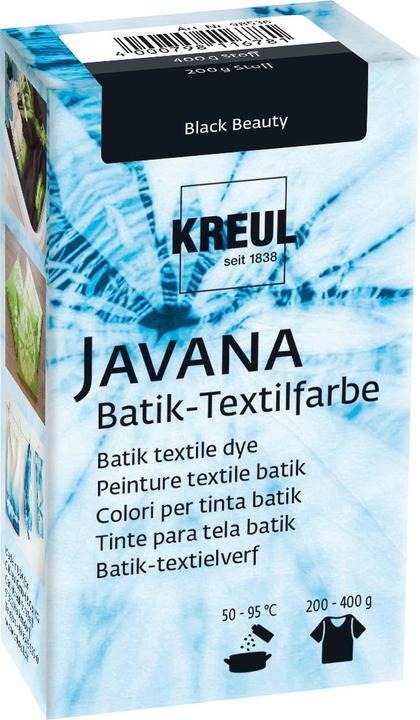
What you’ll need for both dyeing techniques
- Rubber gloves
- Textiles that you want to spruce up
- Colourants
- Fixatives
- Scales
- An old pot that you no longer use for cooking
- Clothes that are allowed to get dirty

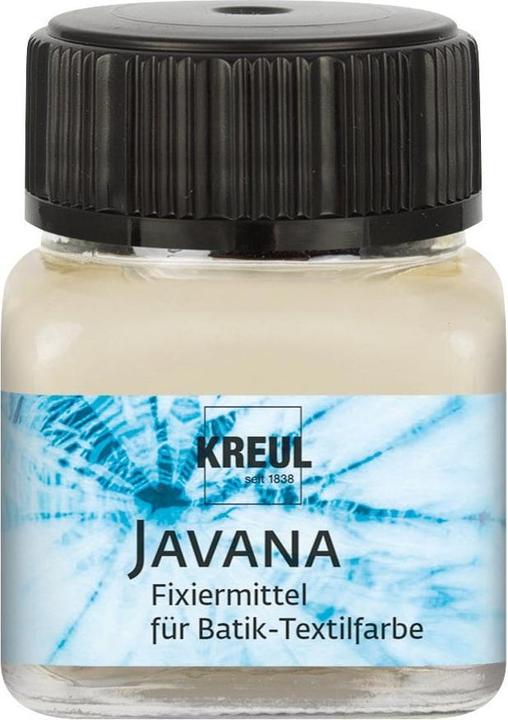
Kreul Fixer
20 ml
Maths… you can’t get past it
To achieve the best possible results, start with a simple rule of three. Weigh the amount of fabric you want to dye. You can then use the product specifications to calculate how much dye you need. In my case, 70 grams of dye gives me an intense colour for 200 grammes of fabric and a medium colour for 400 grammes.
If your head is spinning from the conversion, take a short break and decide on one of the two dyeing methods.
The spraying technique
If you want to have organic patterns or experiment with different colours, dyeing with a spray bottle is well suited.
You’ll need:
- A spray bottle
- A cling bag
- Optional: elastic bands or string
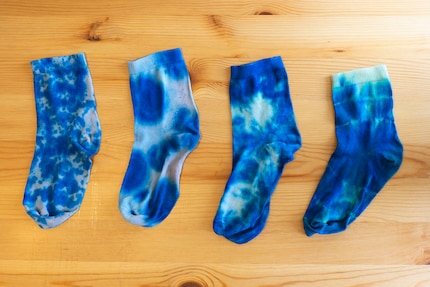
For the spraying technique, you tie off the fabric in a pattern of your choice, then spray paint onto it. This creates clouds of colour and irregular patterns. Heat enough water in a pot and add the textile dye. Stir the water from time to time until the granules are completely dissolved. In the meantime, you can let off steam with some bondage. How about a Mandelbrot shirt to show the world you’re proactively advocating for psychedelics in medicine?
Source: Stefanie Lechthaler
When the dye bath has cooled down to 40 degrees, empty it into the spray bottle and spray the dye onto the dry fabric. When you are satisfied, moisten the masterpieces with water and put them in a cling bag. They’ll stay there for a few hours. Finally, you just have to wash out the fabric until it no longer releases any colour into the water.
Source: Stefanie Lechthaler
Colouring in the pot
You’ll like this technique if you only use one colour or want to use dip-dyeing.
You’ll need:
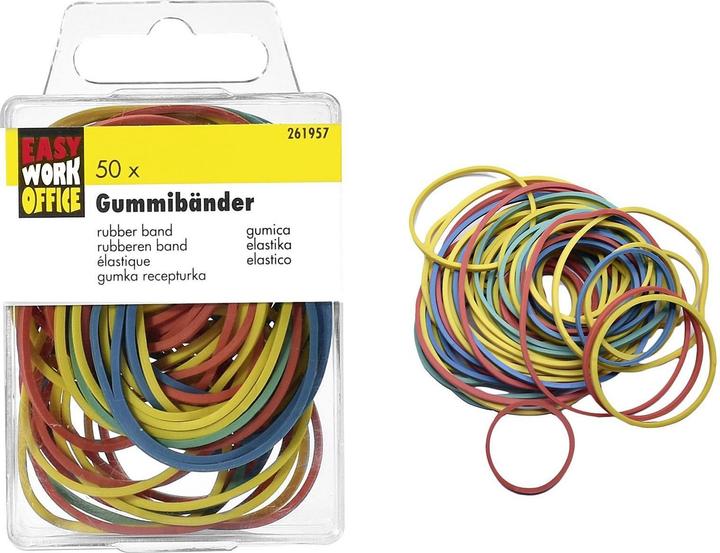
- Rubber bands or string
- or nothing, if you want to dye the fabric completely
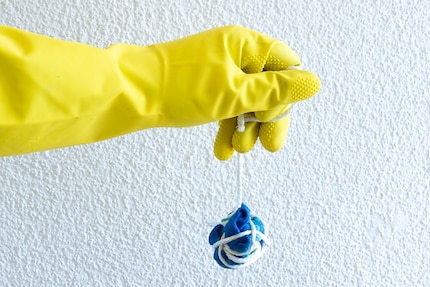
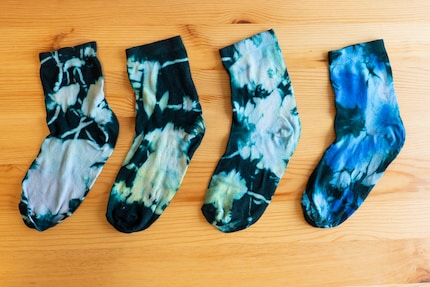
As with the spraying technique, bring water to the boil and mix in the required amount of textile dye. In the meantime, lace and tie up your fabric. With this method, I’d recommend pulling the ropes and elastic bands tight. This’ll give you a greater colour contrast in the end. Just before the water boils, turn the hob down, place the moistened fabric packets in it so that they’re completely covered and pour in the textile dye.
Pay attention to the label on your clothes and don’t place them in water at too high a temperature. This’ll prevent them from shrinking. Leave the pot on the hob on a low heat and stir occasionally so that the colour is evenly absorbed. After about an hour, put the pot to one side and wait until the contents are lukewarm to rinse the textiles with water. Then comes the best part: cutting the cords.
Source: Stefanie Lechthaler
Keeping those colours
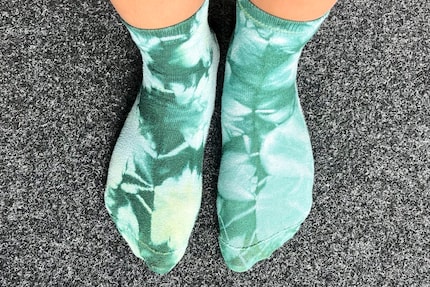
To ensure the colour stays in the fabric for as long as possible, you can use a fixative. To do this, place the rinsed textiles in a water bath with the fixing agent for 15 minutes, stirring repeatedly. Afterwards, wash your new stylish clothes well, hang them up and leave them to dry. You’ll only see the true final colours when the garments are dry.
Tie-dyeing is great for saving your old rags gathering dust in the closet from the tip one last time. I’m going to kit myself out with a whole tie-dye outfit so I can sneak into psytrance raves. Let party season begin.
Source: Stefanie Lechthaler
Painting the walls just before handing over the flat? Making your own kimchi? Soldering a broken raclette oven? There's nothing you can't do yourself. Well, perhaps sometimes, but I'll definitely give it a try.
Practical solutions for everyday problems with technology, household hacks and much more.
Show all

