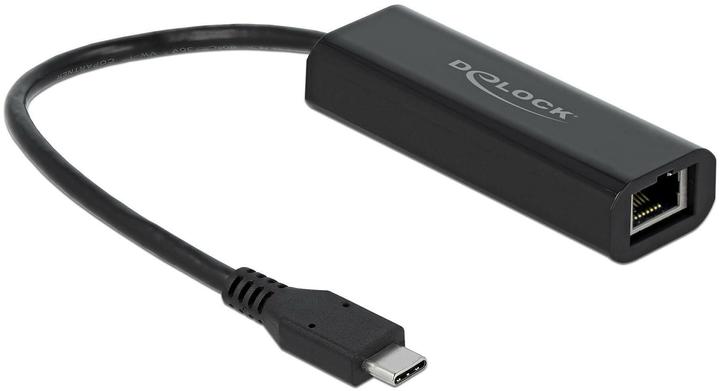
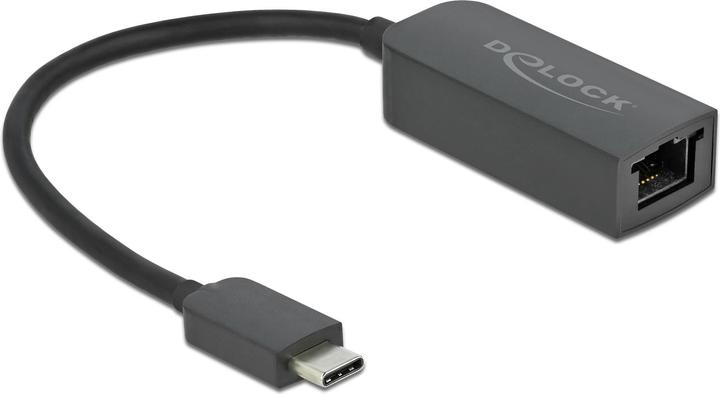
Delock Adapter USB Type-C
USB-C, Thunderbolt 3, RJ45 2.5 Gigabit Ethernet (1x)
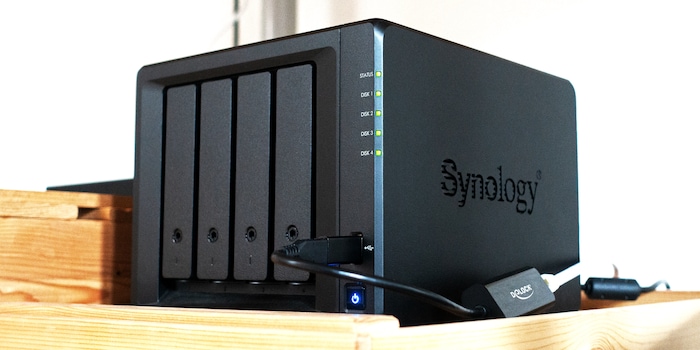
Synology only offers network card upgrades for certain NAS. I’ll show you how you can still enjoy a faster port using a USB LAN adapter.
Most of the network devices in my home office have received a speed upgrade. Necessary ones too, as my router tests have shown that devices with 10 Gigabit ports will become the future standard. So, among other things, I got a 10 Gigabit PCI Express Ethernet card from TP-Link and two 10 Gigabit switches from Qnap. One of the switches already has my Synology NAS (DS918+) attached to it. Only by a 2.5 Gigabit port, however, since the two 10 Gigabit interfaces are already occupied by the router and a cable that continues to my desktop PCs. A shame then that my NAS only has two gigabit LAN ports.
To add extra speed to the NAS as well, I grabbed a Delock adapter I had lying around. It offers a 2.5 Gigabit LAN port and USB-C. Since my NAS only has USB-A, I additionally resort to a USB-C to A adapter.

Delock Adapter USB Type-C
USB-C, Thunderbolt 3, RJ45 2.5 Gigabit Ethernet (1x)
You can also use other network adapters if they have the right chipset. Only certain ones work, though, as there are no official Synology NAS drivers for USB LAN adapters. Therefore, today’s endeavour is tied to a driver package from a Github user. This in turn means that you need the right adapter as well as the right NAS. After a word on official LAN upgrade options, I’ll go into detail about all that and installation.
For a faster network connection, you’ll need more than just the right RJ45 port on your NAS. Switch ports and other devices integrated in the network looking to benefit must also offer the appropriate speed. And your RJ45 cables should be at least Cat 6A.
Example: if you own a 2.5 Gigabit switch connected to a router with only a Gigabit port as well as two PCs with 2.5 Gigabit ports, then only the PCs will benefit from the increased speed. The router, your internet, and devices attached to it will continue to deliver only up to one gigabit per second. More precisely, up to 940 megabits per second (117.5 megabytes) – the remaining six per cent is used by the overhead. The overhead accounts for all information transferred between devices in addition to user data. You can see this as background communication necessary for correct data transmission.
The easiest way to upgrade Synology NAS is with add-on cards from the manufacturer. These are mainly available for their so-called RackStations. When it comes to small case NAS – Synology DiskStations – there are only a few models that can be upgraded.
The following DiskStations can be upgraded with a network card: DS923+, DS723+, DS1517+, DS1522+, DS1618+, DS1621+, DS1621xs+, DS1817+, DS1819+, DS1821+, DS1823xs+, DS2419+, DS2419+II, DS2422+, DS3018xs, DS3611xs, DS3612xs, DS3615xs, DS3617xs, DS3617xsII, DS3622xs+
There are DiskStations that have more than one network port. If this is the case with your NAS, you can increase speeds by connecting both ports. This uses link aggregation, resulting in a new interface called Bond.
However, this doesn’t automatically double data throughput. Link aggregation only increases bandwidth when multiple transmissions occur simultaneously. A single transmission follows the path over a single port.
If you want to create a bond, you can find instructions here.
A USB network adapter only works if a driver tells the corresponding device how to address it. If you plug one of them into a Windows PC, it usually recognises it automatically. If not, you’ll need to install a driver. You should also make sure to use at least one USB 3 port with a 2.5 Gigabit adapter. But what if – like with a Synology NAS – there are no official drivers?
Then you’ll have to rely on resourceful tinkerers who voluntarily port the driver for your target system. Here’s to people like Github user bb-qqz, who customised the software and made it available here as driver packages. They also publish regular updates.
The catch? Since bb-qq can’t possibly test their software on all Synology NAS, they rely on the community to provide feedback. This means that far from all NAS adapter combinations have been tested and confirmed to work.
In addition to their 2.5 gigabit network adapter driver project, bb-qq also has one running for 5 gigabit network adapters. However, this will still only achieve around 3200 megabits (400 megabytes) per second if SSD cache is available, despite the USB 3 port (which theoretically allows up to 5 gigabits per second). If you don’t have an SSD cache installed in the NAS or if it’s already full, hard disk speed can also become a bottleneck. It should also be noted that the range of adapters for the 5 Gigabit project is smaller due to only one chipset (Aquantia AQC111U) being supported. Besides, these sets cost more.
Since I’m testing bb-qq’s 2.5 Gigabit project in this article, I won’t go into further detail about the 5 Gigabit network adapters here. The 2.5 Gigabit USB network drivers should mostly work fine on DiskStations that have an Intel processor with Apollo Lake architecture. My Synology DS918+ NAS has a corresponding CPU (Intel Celeron J3455). Such a venture will probably work out. According to the Github page, support is even confirmed for this model.
Nevertheless, bb-qq also provides driver packages for other CPU architectures. So if you can live with failure, you can also try upgrading an NAS that doesn’t use Apollo Lake. Before doing so, it’s worth taking a look at the project’s compatibility list, where already confirmed pairings of NAS and adapters are listed. Besides Apollo Lake, there are driver packages for the following CPU architectures: Alpine, Armada, Avoton, Braswell, Broadwell, Bromolow, Cedarview, Comcerto, Denverton, Evansport, Gemini Lake, Monaco, R1000, RTD1296 and V1000.
To find out what processor your NAS has, go to the «Control Panel» in the DiskStation Manager (DSM) NAS operating system and click on «Info Center». Under General, the CPU is listed. Google or Duckduckgo will tell you its architecture. If you know your NAS model number by heart, it’ll be faster if you check Synology’s Knowledge Center here.
bb-qq’s driver packages work with three chipsets from Realtek. More precisely, the 2.5 Gigabit USB network adapter must have an RTL8152, RTL8153 or RTL8156.
I browsed through our shop and found the following products with these chipsets. Strictly speaking, the chipsets in them are all based on the RTL8156:
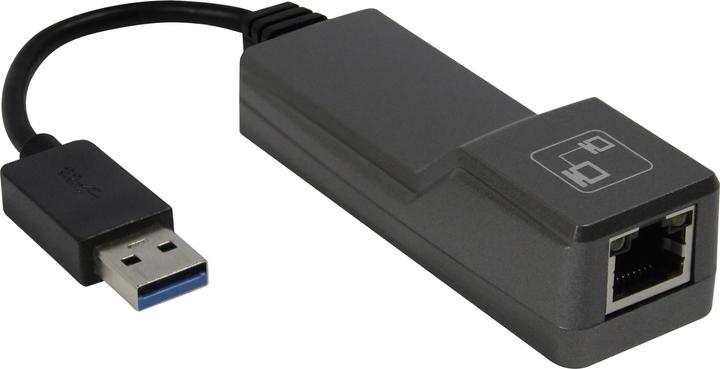
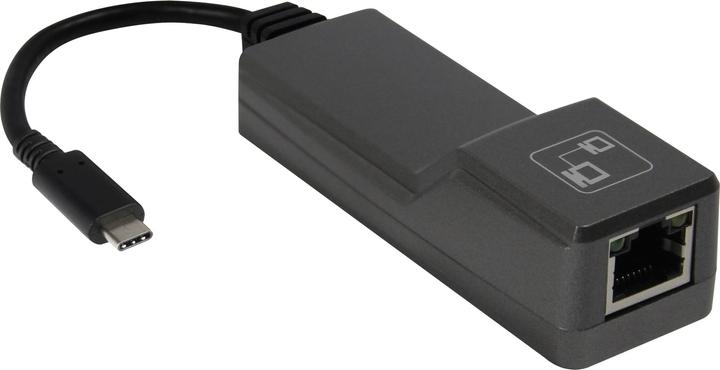
Allnet ALL174XGC Network Card USB Type C 2.5 Gigabit Ethernet 1x RJ45
USB-C, USB 2.0, RJ45 2.5 Gigabit Ethernet (1x)
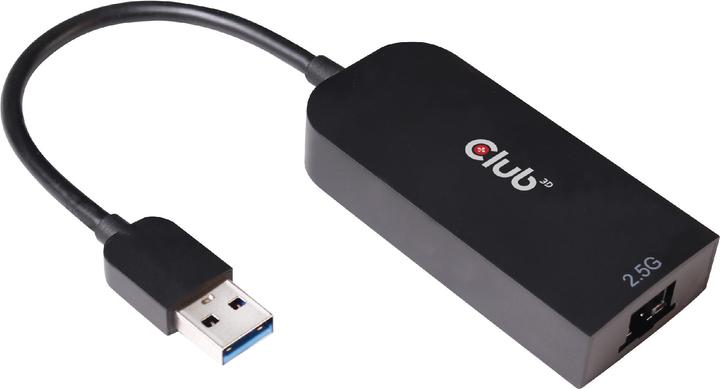
Club 3D USB 3.2 Gen1 Type A on RJ45
USB, RJ45 (1x)
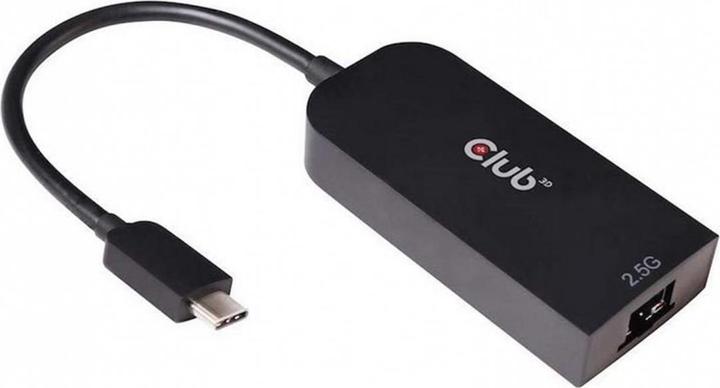
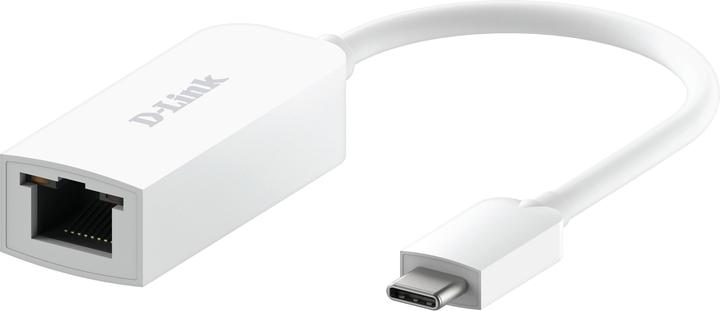
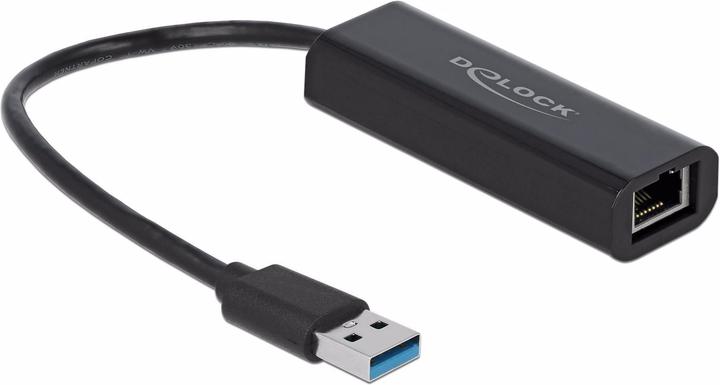
Delock Network Adapter USB-A - RJ45, 2.5Gbps Black
USB 3.0, RJ45 2.5 Gigabit Ethernet (1x)

Delock Adapter USB Type-C
USB-C, Thunderbolt 3, RJ45 2.5 Gigabit Ethernet (1x)
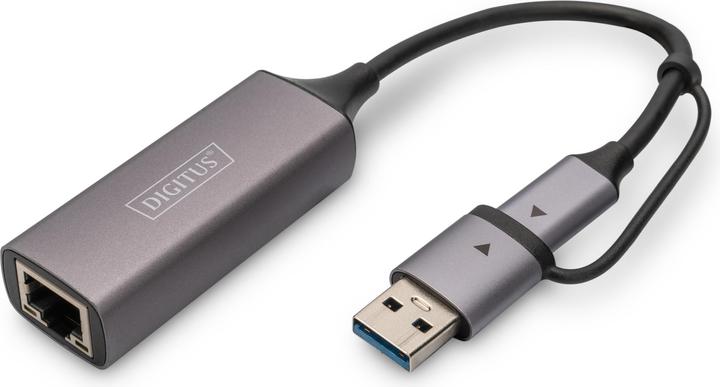
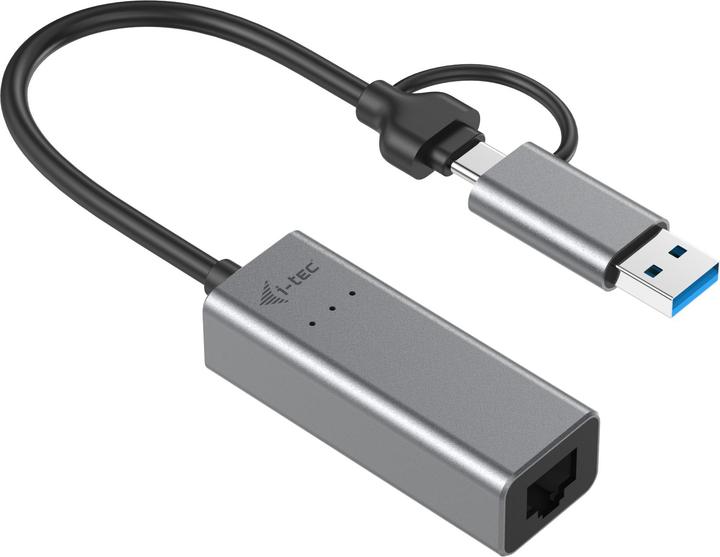
i-tec USB-C Ethernet Adapter
USB-C 3.1 Gen 1, RJ45 2.5 Gigabit Ethernet (1x)
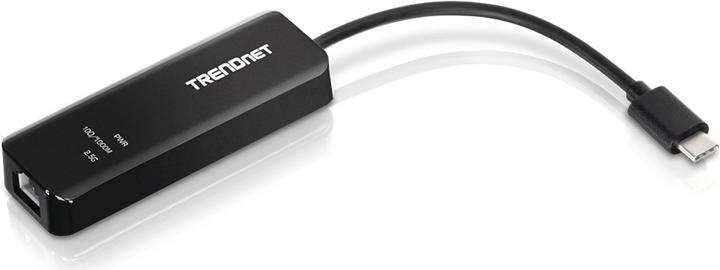
If you do buy one, it’s best to make sure it has a USB-A port. If not, take the following advice to heart: USB-C to A adapters vary vastly in quality. At some point I’ll do some more research on how to tell them apart. Here’s a weaker one – my worst purchase of the year so far:
Why is it so bad? True, you can plug the connector into the adapter in two ways, as with any USB-C port. Which way round usually doesn’t matter. However, due to the (mis)construction of the adapter, it only allows full data throughput when plugged in one way. If your data throughput is limited to a maximum of around 330 megabits (41 megabytes) per second, it might help to turn the plug once.
Armed with a suitable adapter, installation is relatively simple. I follow the bb-qq’s instructions and proceed as follows:
1. Launch a browser and log into the web interface of your Synology NAS.
In their installation instructions, bb-qq warns against using Safari. I perform the installation with Firefox on a Windows machine.
2. In a second browser tab, open the release page of the driver packages.
3. Download the correct driver package.
To do this, keep in mind what architecture your NAS processor has. You also need to know the version number of your DSM operating system – you can find it in the «Info Center» of the «Control Panel». In my case, Apollo Lake architecture and DSM version 7.1.1 are used. I download the latest driver package (.SPK file) with «apollolake» and «7.1» in the file name. If you want to be on the safe side, always help yourself to the «Latest» release. I downloaded the newest «Pre-release» (r8152-apollolake-2.16.3-4_7.1.spk). If you have a DiskStation with DSM version 6.2.x or 7.2 and newer, driver packages are available for those as well.
4. Open «Package Center» in the DSM and click on «Manual Installation» in the upper right corner.
5. Click on «Browse» and open the previously downloaded driver package.
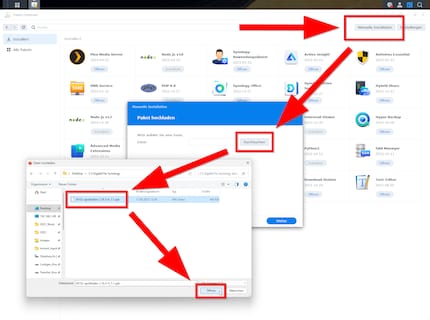
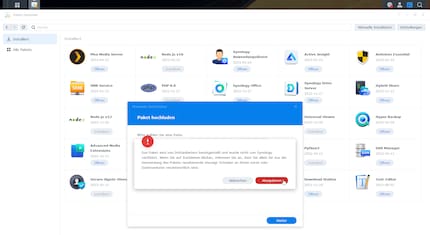
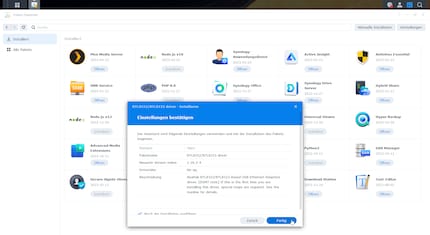
If your DSM uses version 6.2.x, installation is finished here and you may jump directly to step 19.
8. What follows with DSM 7 and newer is an error message, followed by a failed installation. But don’t panic, you’re doing it right – this problem is just another part of the driver installation process. You can click away the message.
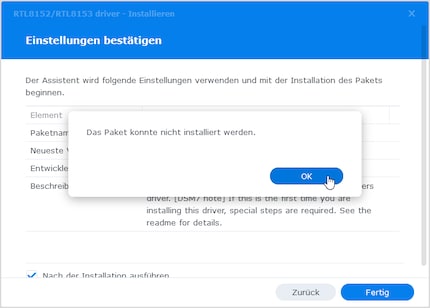
9. Open the «Control Panel» and click on «Terminal & SNMP». Under the «Terminal» tab that now opens, place a check mark next to the «Enable SSH service» option and click «Apply».
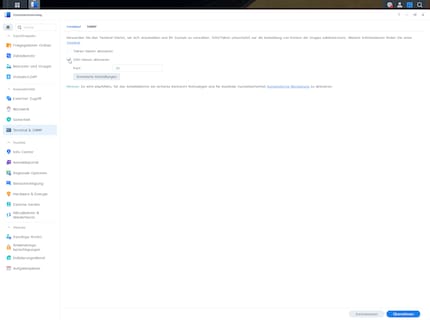
Careful: «Port» is usually followed by the number 22 by default. If you want to use the SSH service for a longer period of time, you should set a different port number for security reasons. Since my current experiment will only last a short while, and I somehow missed it, I’m left with a 22.
If you have no further use for the SSH service after installation, you should disable it afterwards.
10. Move away from the web browser and start an SSH client. Windows users can launch «Windows PowerShell» here. Mac users can launch «Terminal». For all systems including Linux, I can also recommend PuTTY.
11. In the following screenshot, you can see what will happen in the next steps up to point 16. Use it for guidance if you’re unsure.
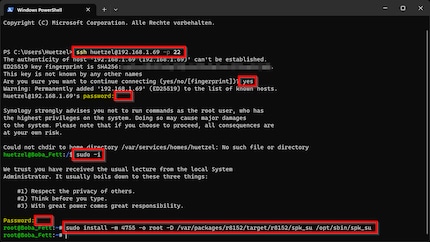
In a moment, you’ll log in to your NAS with root privileges via SSH. For this, Synology provides an official guide here.
12. Once you’ve started an SSH client, first enter the following command:
ssh DSM (admin account)@(DSM IP address) -p (SSH port number)
Example: huetzel@192.168.1.69 -p 22
The port number here must be the same as specified in point 9.
13. After confirming the command with Enter, you’ll be asked for the admin password. Enter it and confirm.
14. Now enter the following command and confirm:
sudo -i
15. You’ll be asked for the admin password again. Enter it again and confirm.
16. You’re now connected to your NAS with root permission. Enter the following command, which will fix the installation problem, and confirm:
sudo install -m 4755 -o root -D /var/packages/r8152/target/r8152/spksu /opt/sbin/spksu
17. That’s the commands over with. You can now close the SSH client and if necessary disable the SSH service in DSM again.
18. Repeat installation for the driver package – steps 4 to 7. If everything was done correctly, you won’t get an error message this time.
19. After installation, check in «Package Center» under «Installed». The new driver package named «RTL8152/RTL8153 driver» should be running. If not, run it.
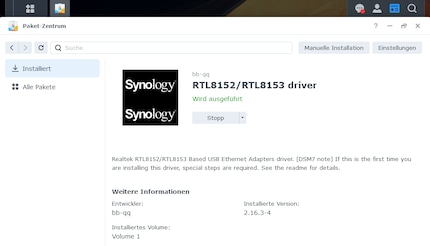
As bb-qq states, your NAS may still need a reboot before the drivers work. Normally, however, this shouldn’t be necessary.
20. Connect your USB LAN adapter to the NAS.
Whether you use the USB-3 port on the back or on the front of your NAS really doesn’t matter. Nevertheless, there are users for whom the front port on their NAS supposedly works better than the rear port – or vice versa. I use the front connector because the one on the back is already connected to an uninterruptible power supply (UPS).
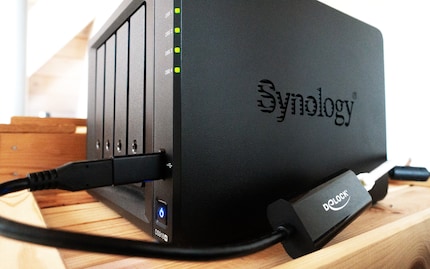
This gives you a new network interface that you can configure in exactly the same way as the previous LAN port in the DSM. You can find it in the «Control Panel» under «Network» in the «Network Interface» tab.
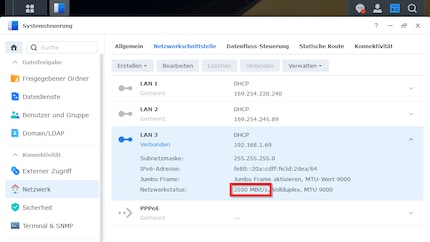
I’m very pleased with this new connection. Over Gigabit LAN, before the upgrade, I measured around 904 megabits per second when moving data between the PC and NAS, 113 megabytes per second. The new rate reaches 2264 megabits per second. That’s 283 megabytes per second.
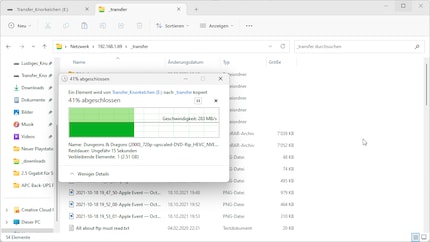
I’m interested to see if you can achieve similar speeds with your NAS and a USB LAN adapter. Experience reports in the comments are very welcome. Keep in mind that besides network infrastructure, the following three things also affect speeds: the RAID type of your NAS, the hard disk speed, and whether SSD cache is installed.
Header image: Martin JudI find my muse in everything. When I don’t, I draw inspiration from daydreaming. After all, if you dream, you don’t sleep through life.